
Quick & Easy Installation Process
Designed for simplicity, our Aris and Malibu wall panels can be installed quickly using just a few common tools. Browse and download our step-by-step installation guide to get the job done right—following clear, precise technical instructions.
Quick visual reference
Here’s a snapshot of the installation steps to help you get oriented in seconds
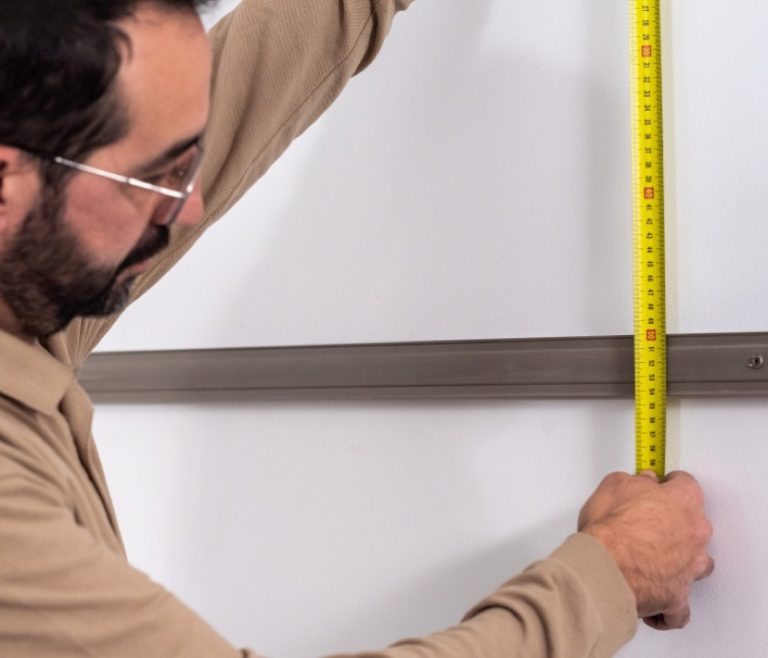
They should be installed intermittently along the wall to allow for better ventilation. A spacing of 20''
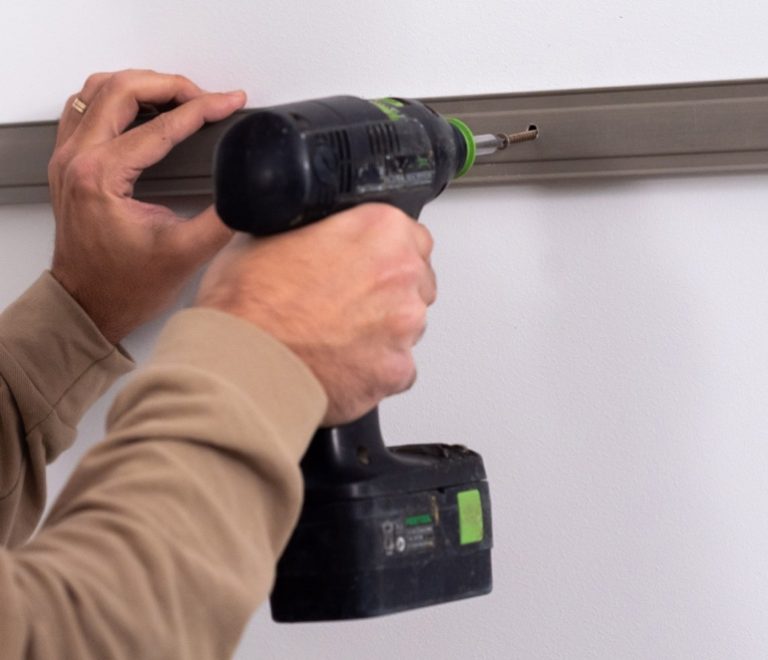
Ensure that the surface is firm and smooth, and fasten the battens to the vertical surface.
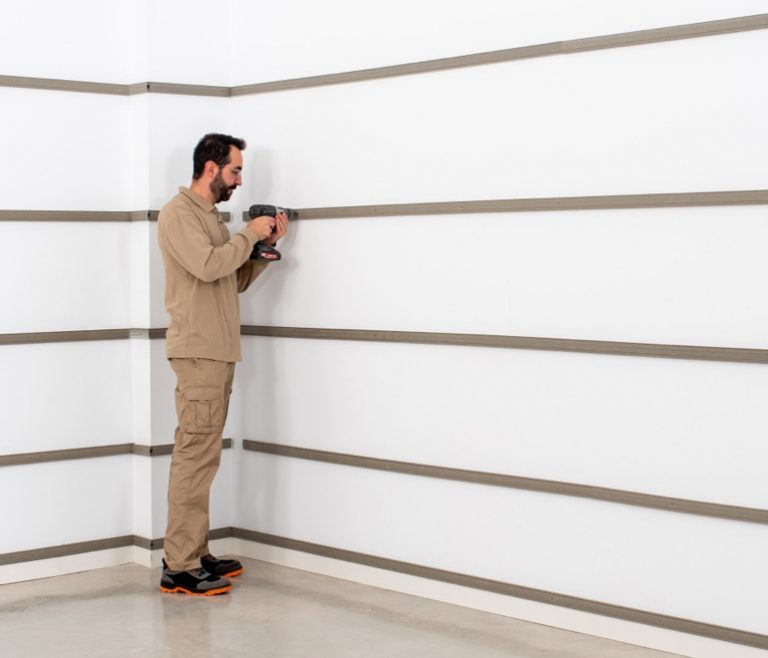
The placement of battens allows for thermal and acoustic insulation.
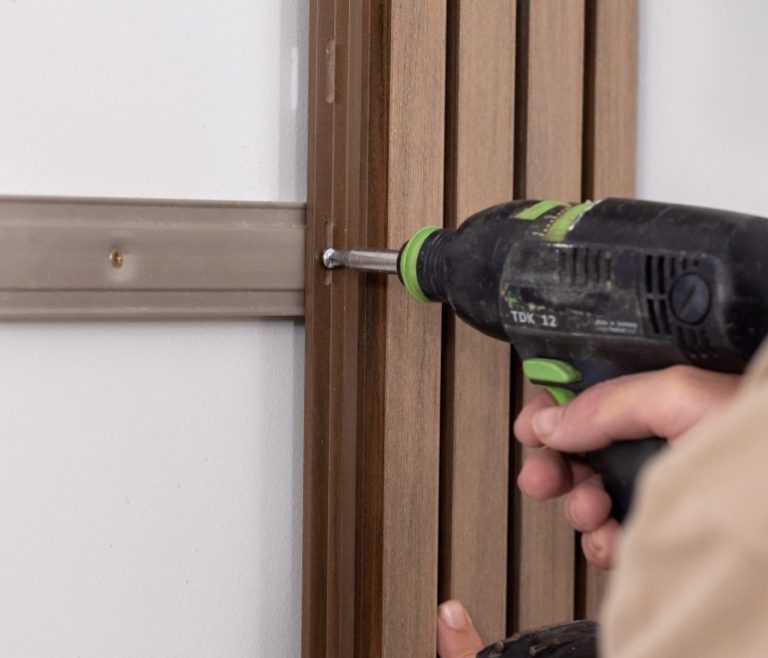
Next, the first plank is placed, always starting from the corner.
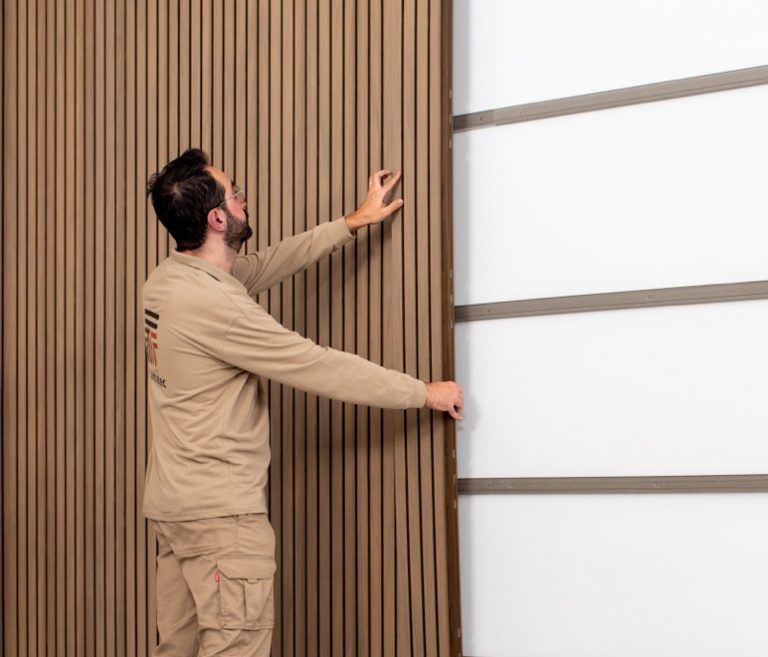
Maintaining minimum distances from the floor, the side, and the ceiling.
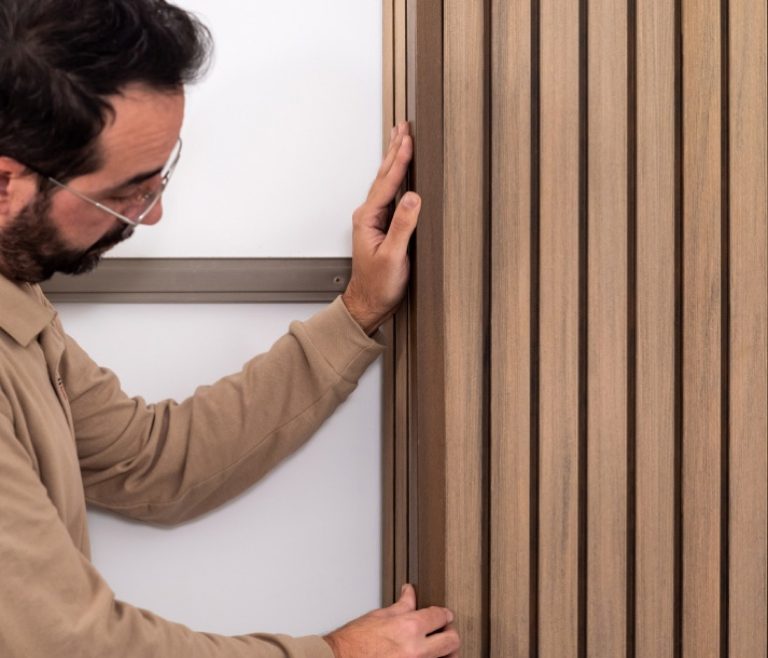
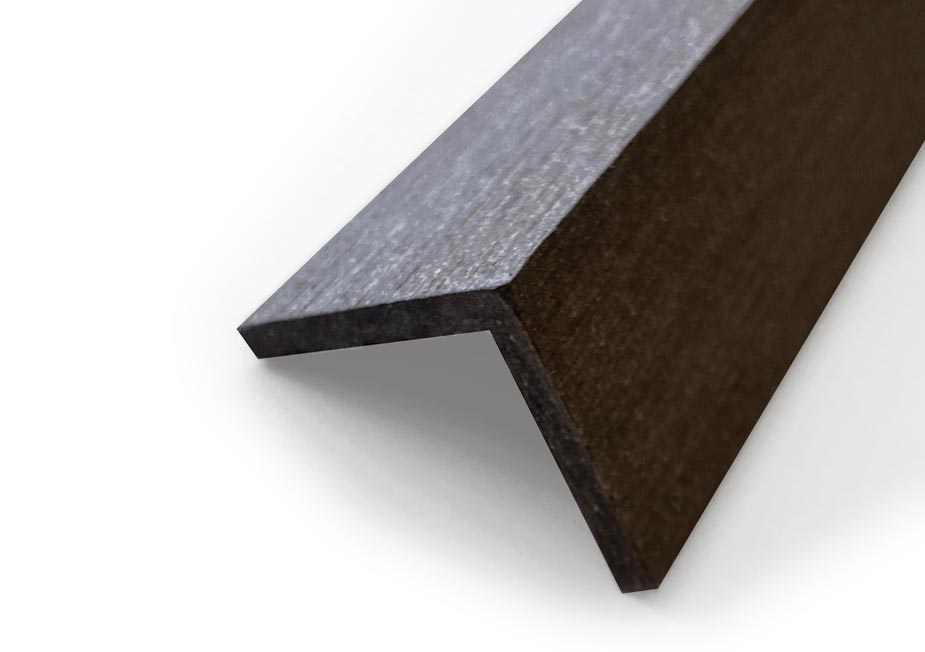
To finish the installation, we have corner pieces that allow you to complete the assembly on the walls.
They should be installed intermittently along the wall to allow for better ventilation. A spacing of 50 cm (19.685")
Ensure that the surface is firm and smooth, and fasten the battens to the vertical surface.
The placement of battens allows for thermal and acoustic insulation.
Next, the first plank is placed, always starting from the corner.
Maintaining minimum distances from the floor, the side, and the ceiling.
To finish the installation, we have corner pieces that allow you to complete the assembly on the walls.
Installation Accessories
Elevate the final look of your Aris and Malibu wall panels project with these professional accessories.
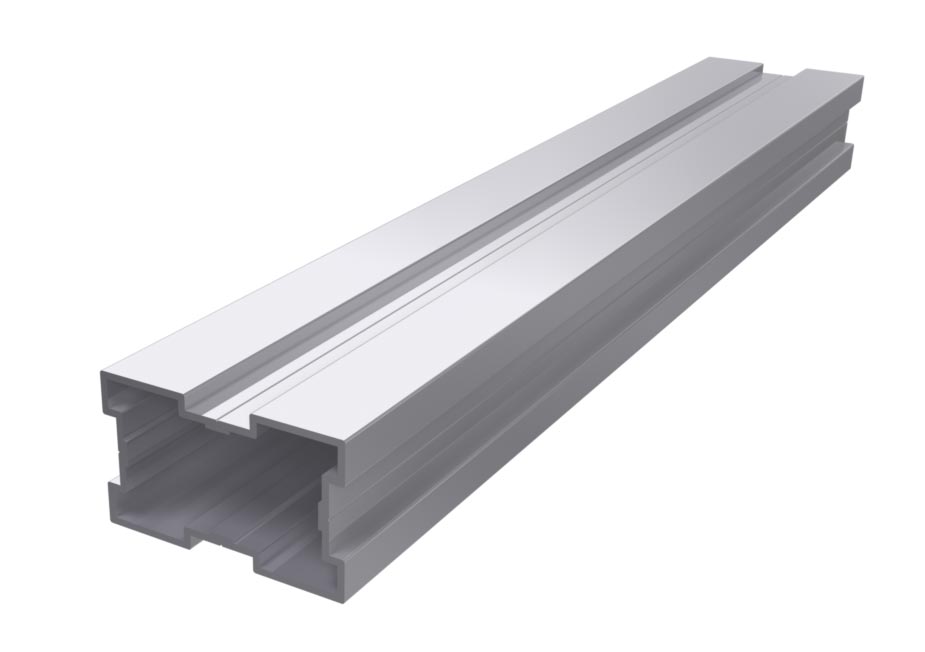
Aluminum Profile
1"x2"x120” Rail (sold individually)
Ensures long-lasting stability and durability for your outdoor installations.